Step 1: Doctor’s Recommendation A cardiologist recommends a Holter ECG when continuous heart rhythm monitoring is needed to investigate palpitations, dizziness, chest discomfort, or suspected arrhythmias.
Step 2: Medical Evaluation The patient’s medical history, symptoms, and current medications are reviewed to determine the monitoring duration, usually 24 to 48 hours.
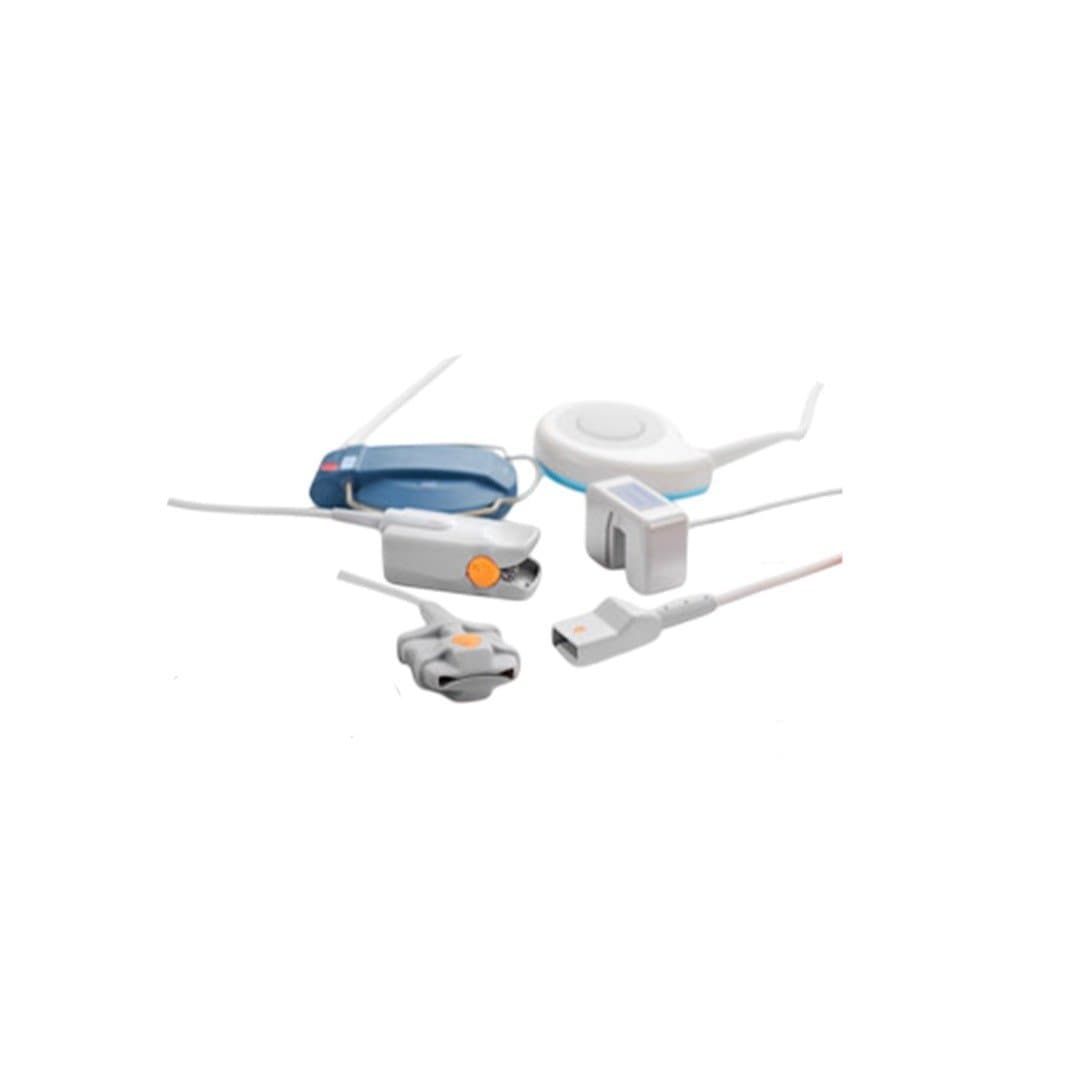
Step 3: Device Preparation The healthcare professional checks the recorder, battery status, memory capacity, and electrodes to ensure proper functioning.
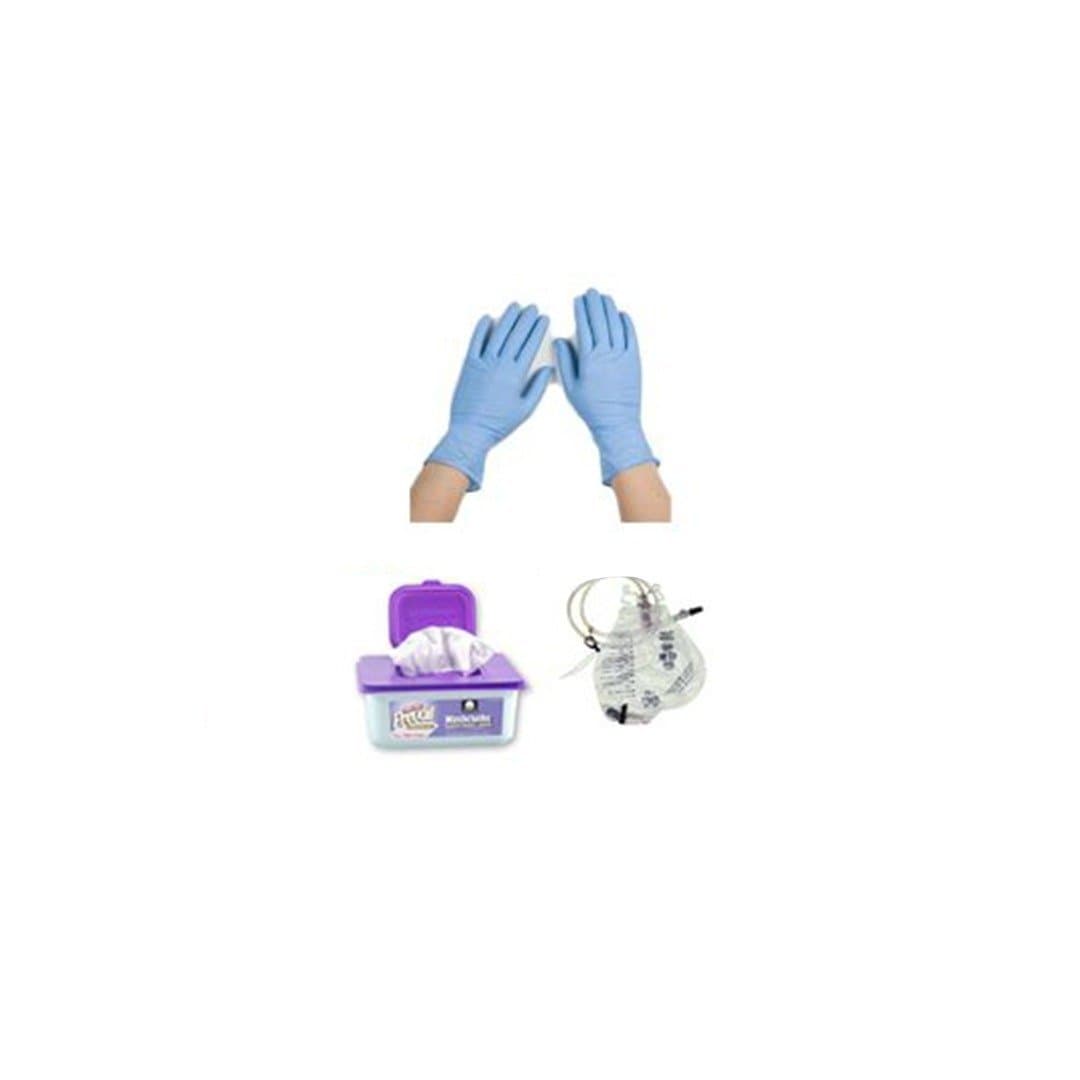
Step 4: Skin Preparation Small areas on the chest are cleaned (and shaved if necessary) to help the electrodes stick properly and provide clear signals.
Step 5: Electrode Placement Adhesive electrodes are attached to specific areas of the chest to capture the heart’s electrical activity accurately.
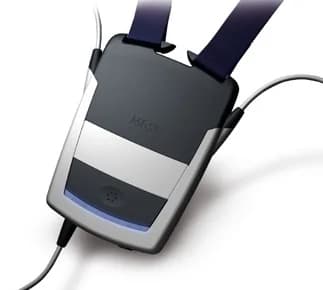
Step 6: Connecting the Recorder The electrodes are connected to a small portable recording unit worn on a belt or shoulder strap, allowing free movement.
Step 7: Start of Monitoring Once activated, the device continuously records the heart’s rhythm automatically throughout the monitoring period. No manual action is required.
Step 8: Continue Normal Activities The patient carries on with regular daily tasks but should avoid bathing, swimming, or activities that may loosen the electrodes.
Step 9: Record Symptoms If symptoms such as palpitations, dizziness, or chest pain occur, the patient notes the time and activity to help correlate with ECG data.
Step 10: Monitoring Period The device stores continuous heart rhythm data during both daytime activities and sleep.
Step 11: Device Removal After the recommended duration, the patient returns to the clinic where the electrodes and recorder are removed safely.
Step 12: Data Analysis and Diagnosis The recorded information is downloaded and reviewed by the doctor to detect rhythm abnormalities, evaluate treatment response, and plan further care if needed.